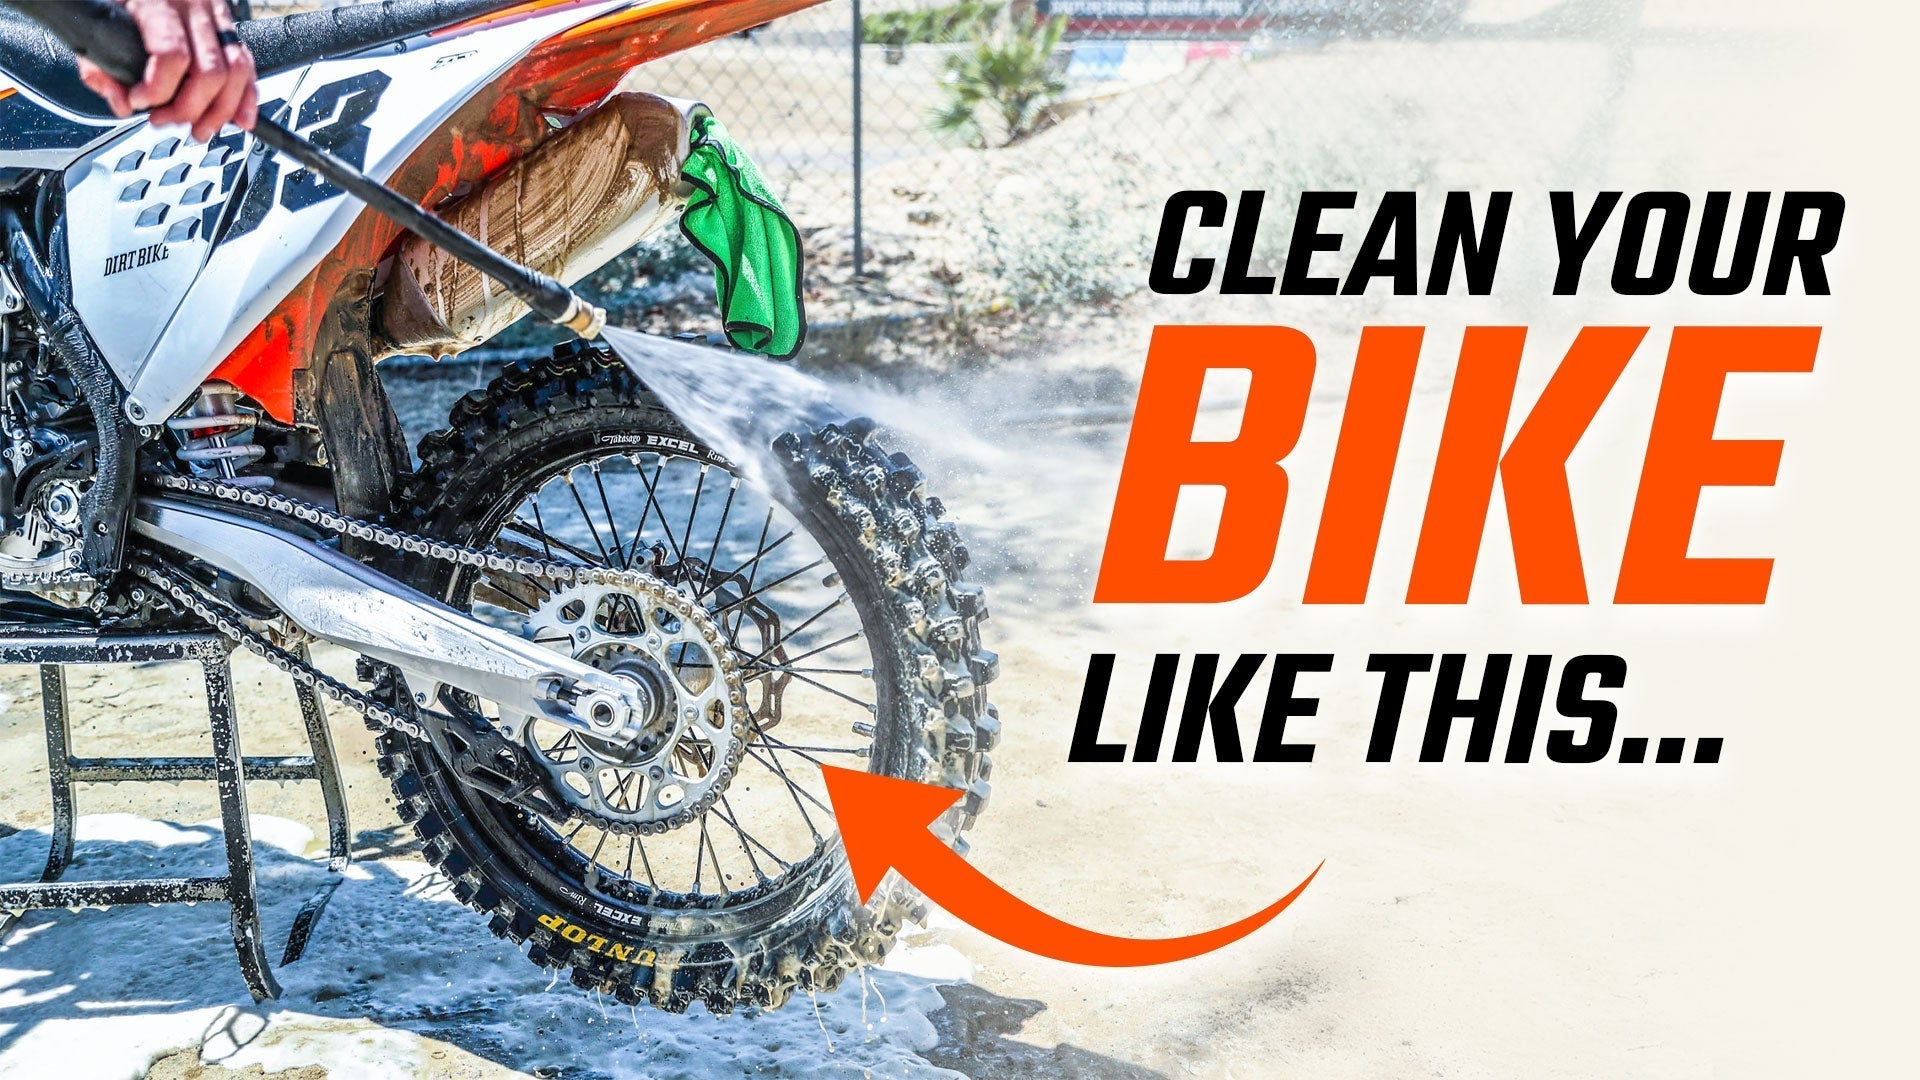

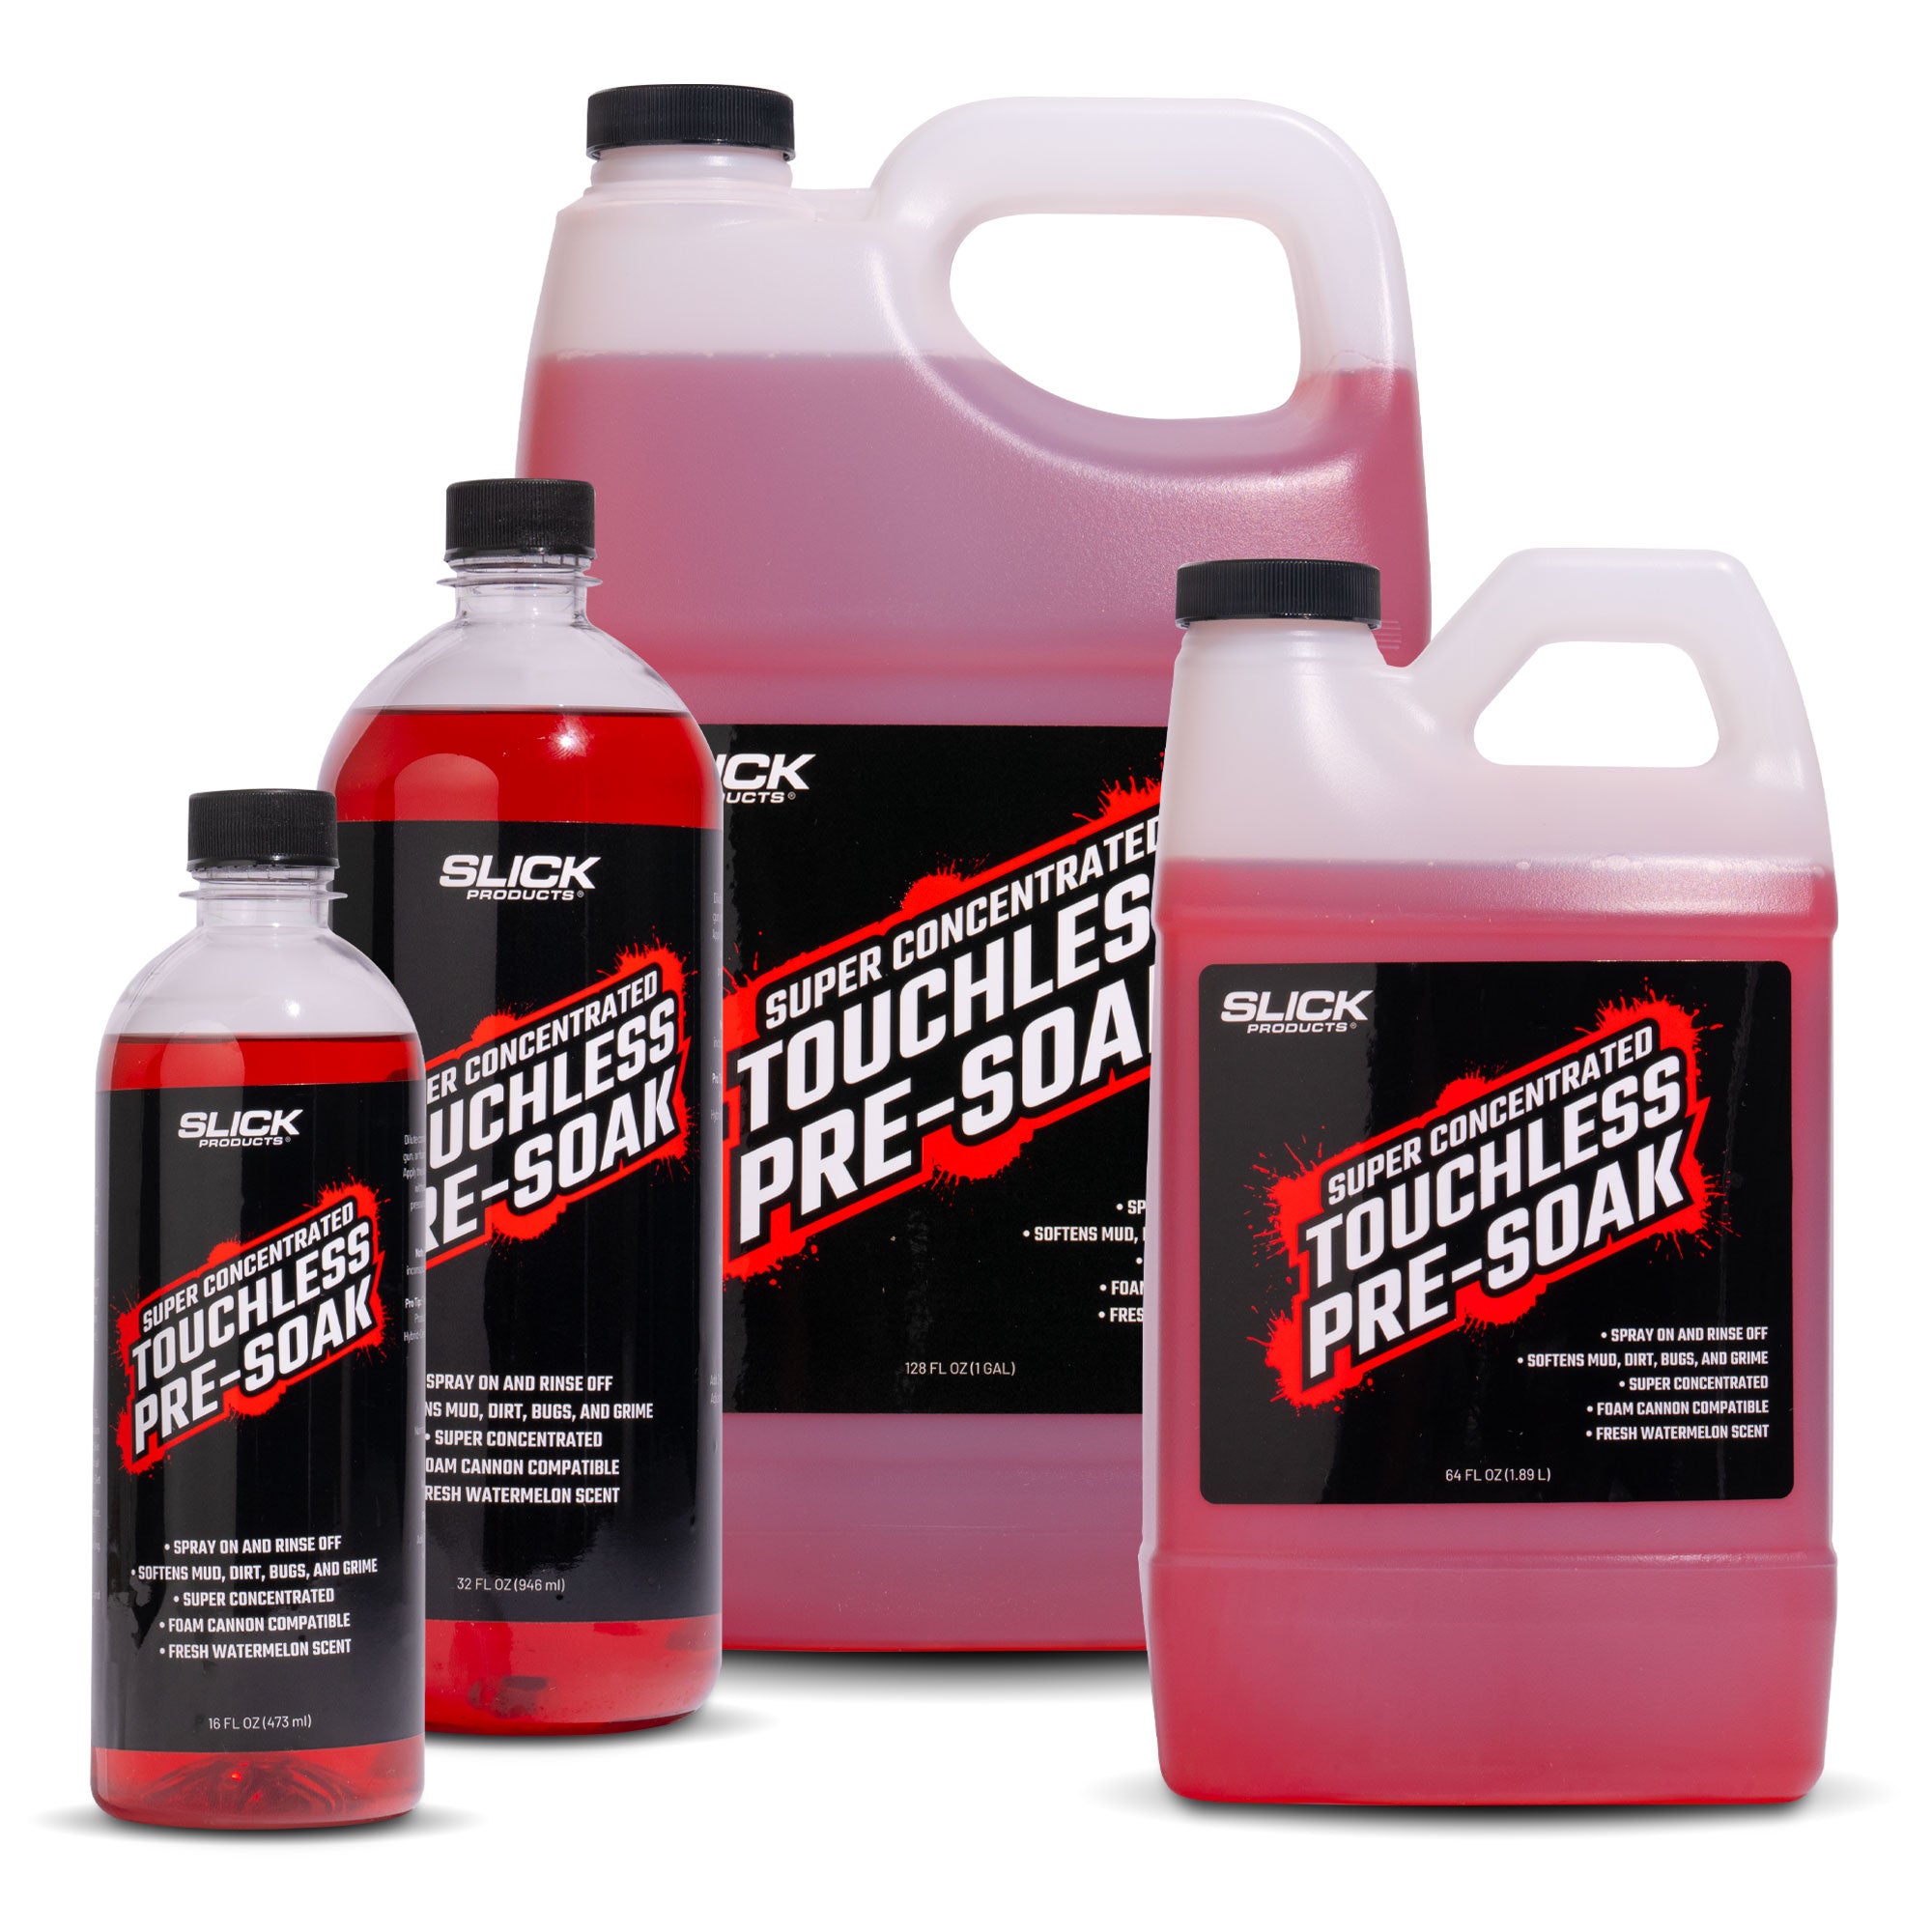

When your ATV is buried under layers of dried mud, you need more than just water to get it clean. In this video, we tackle a seriously dirty machine using Slick Products’ 3-step wash process: Off-Road Wash Foam, Cleaner & Degreaser, and Shine & Protectant Spray. The result? A like-new shine in no time.
"Thick mud, grease, grime—nothing stands a chance against this 3-step system."
Watch the Full ATV Wash in Action:
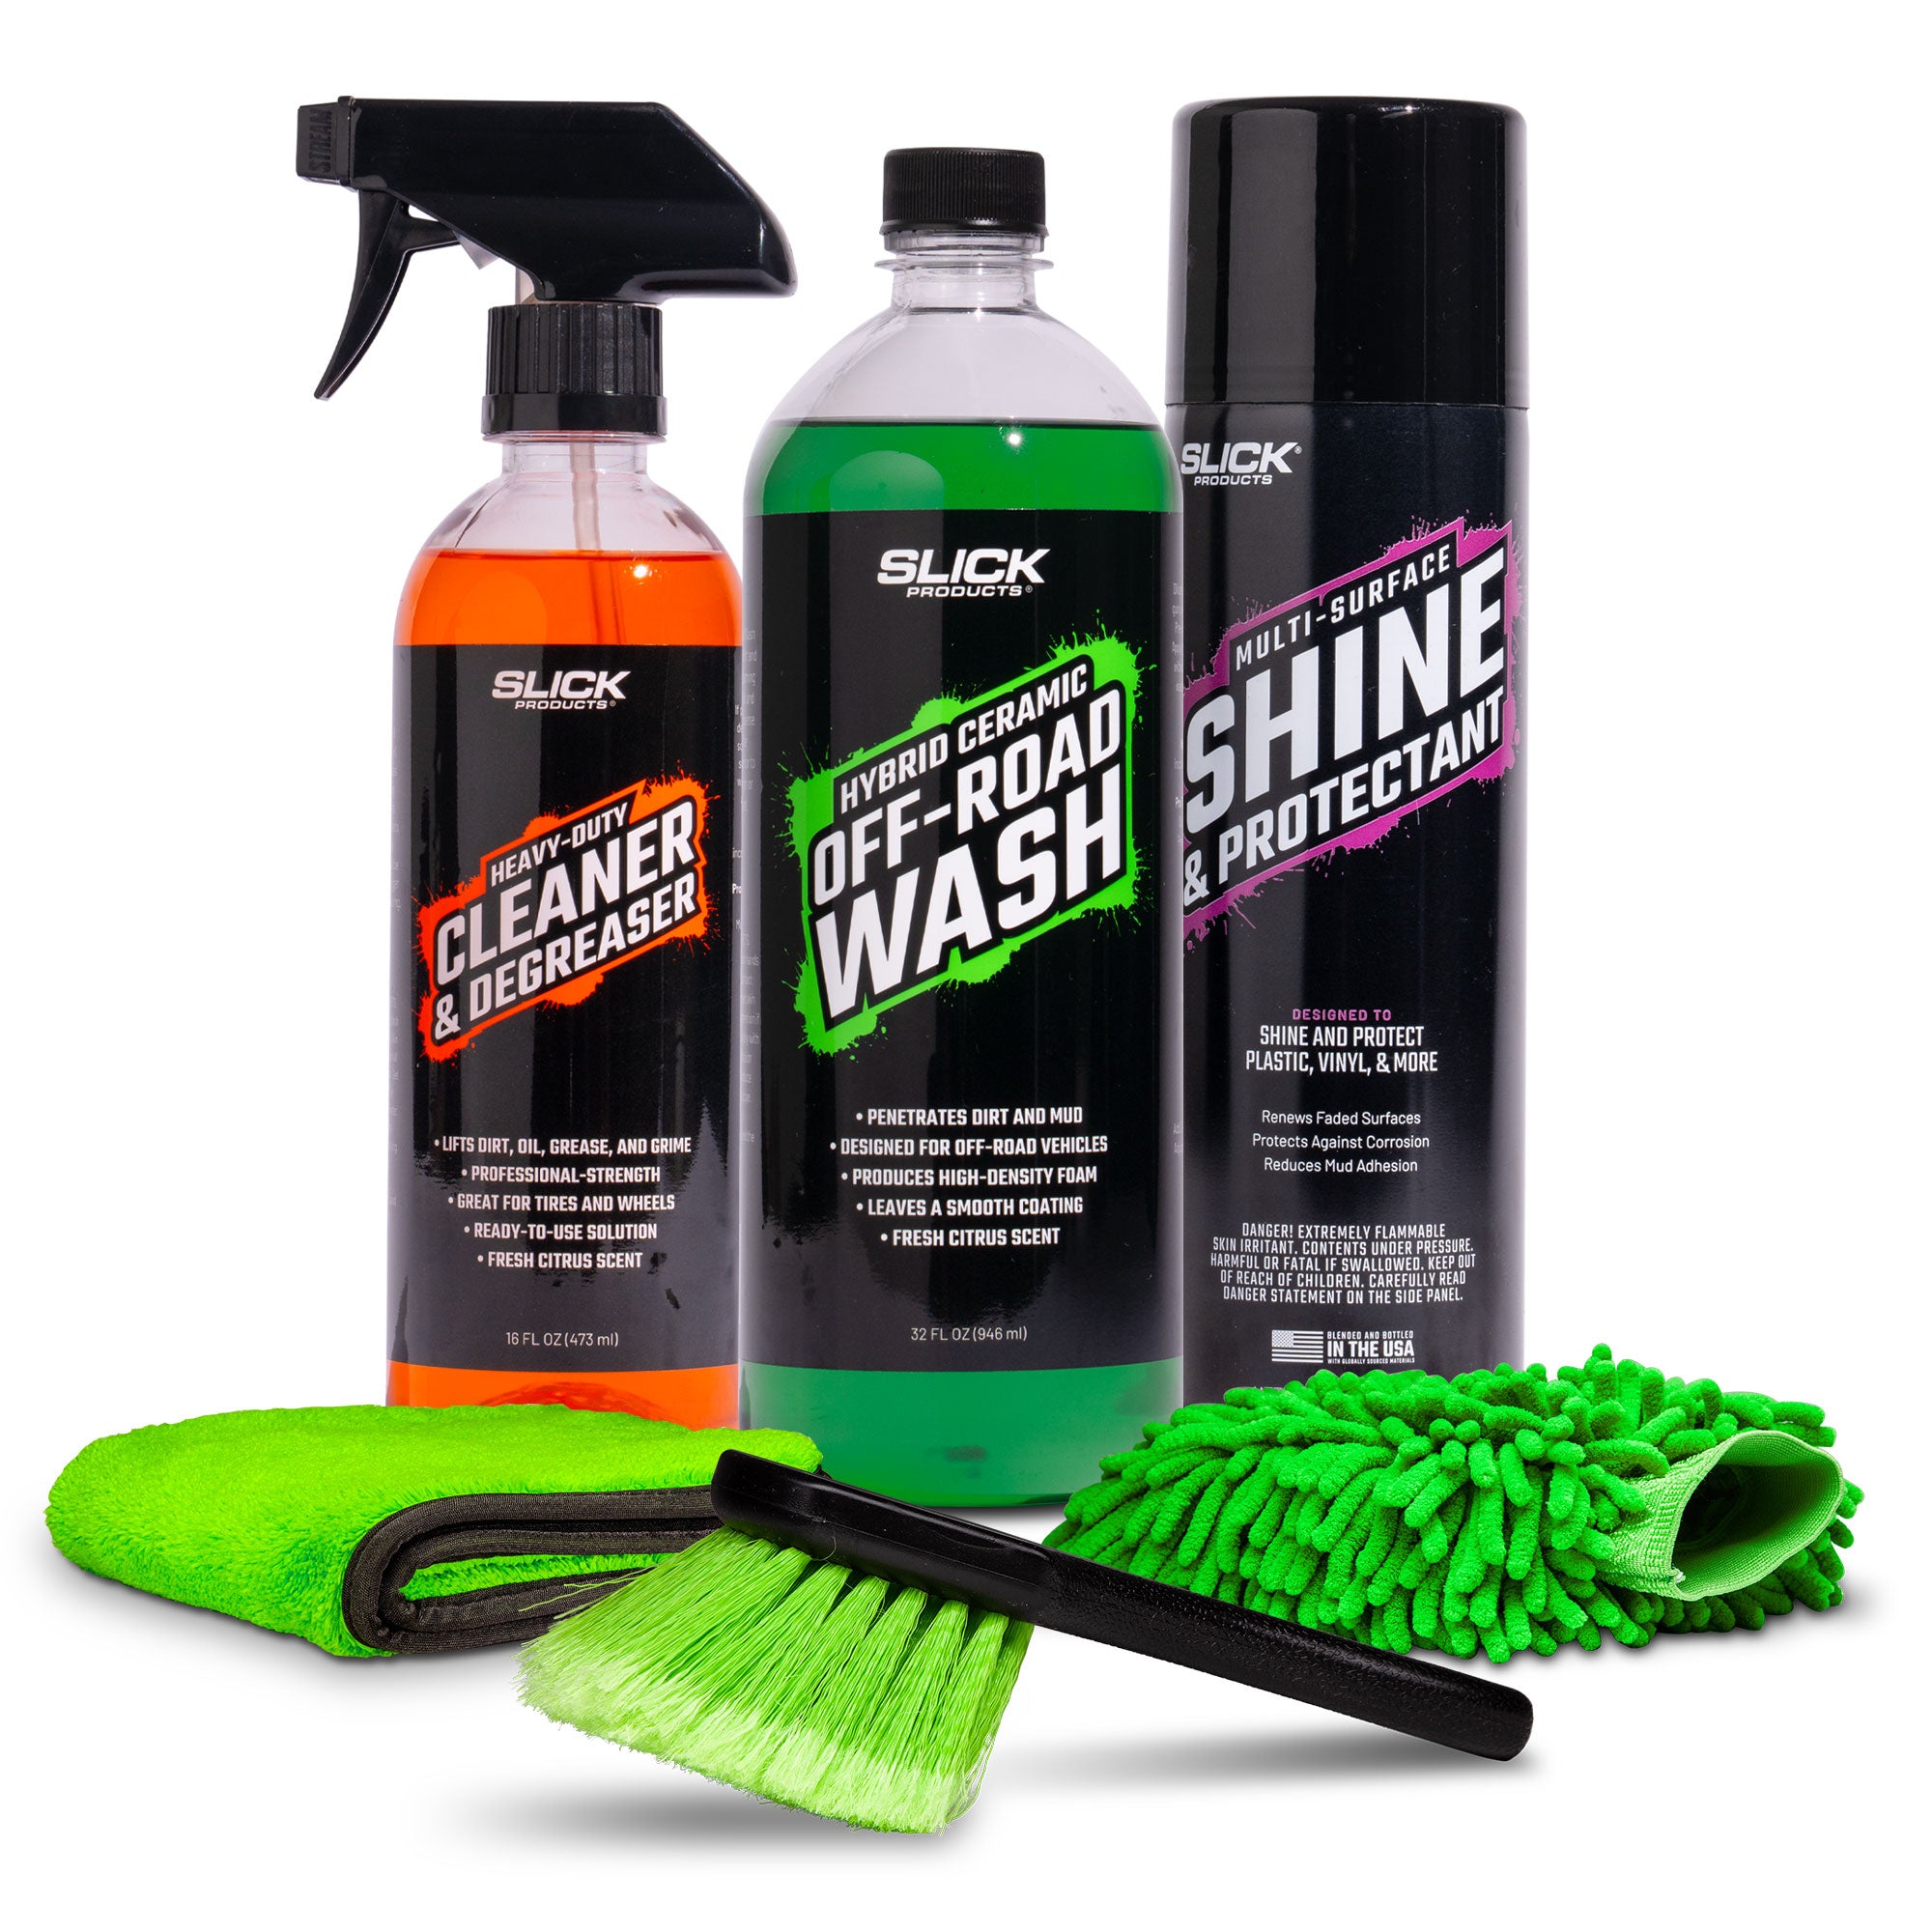
The 3-Step Process:
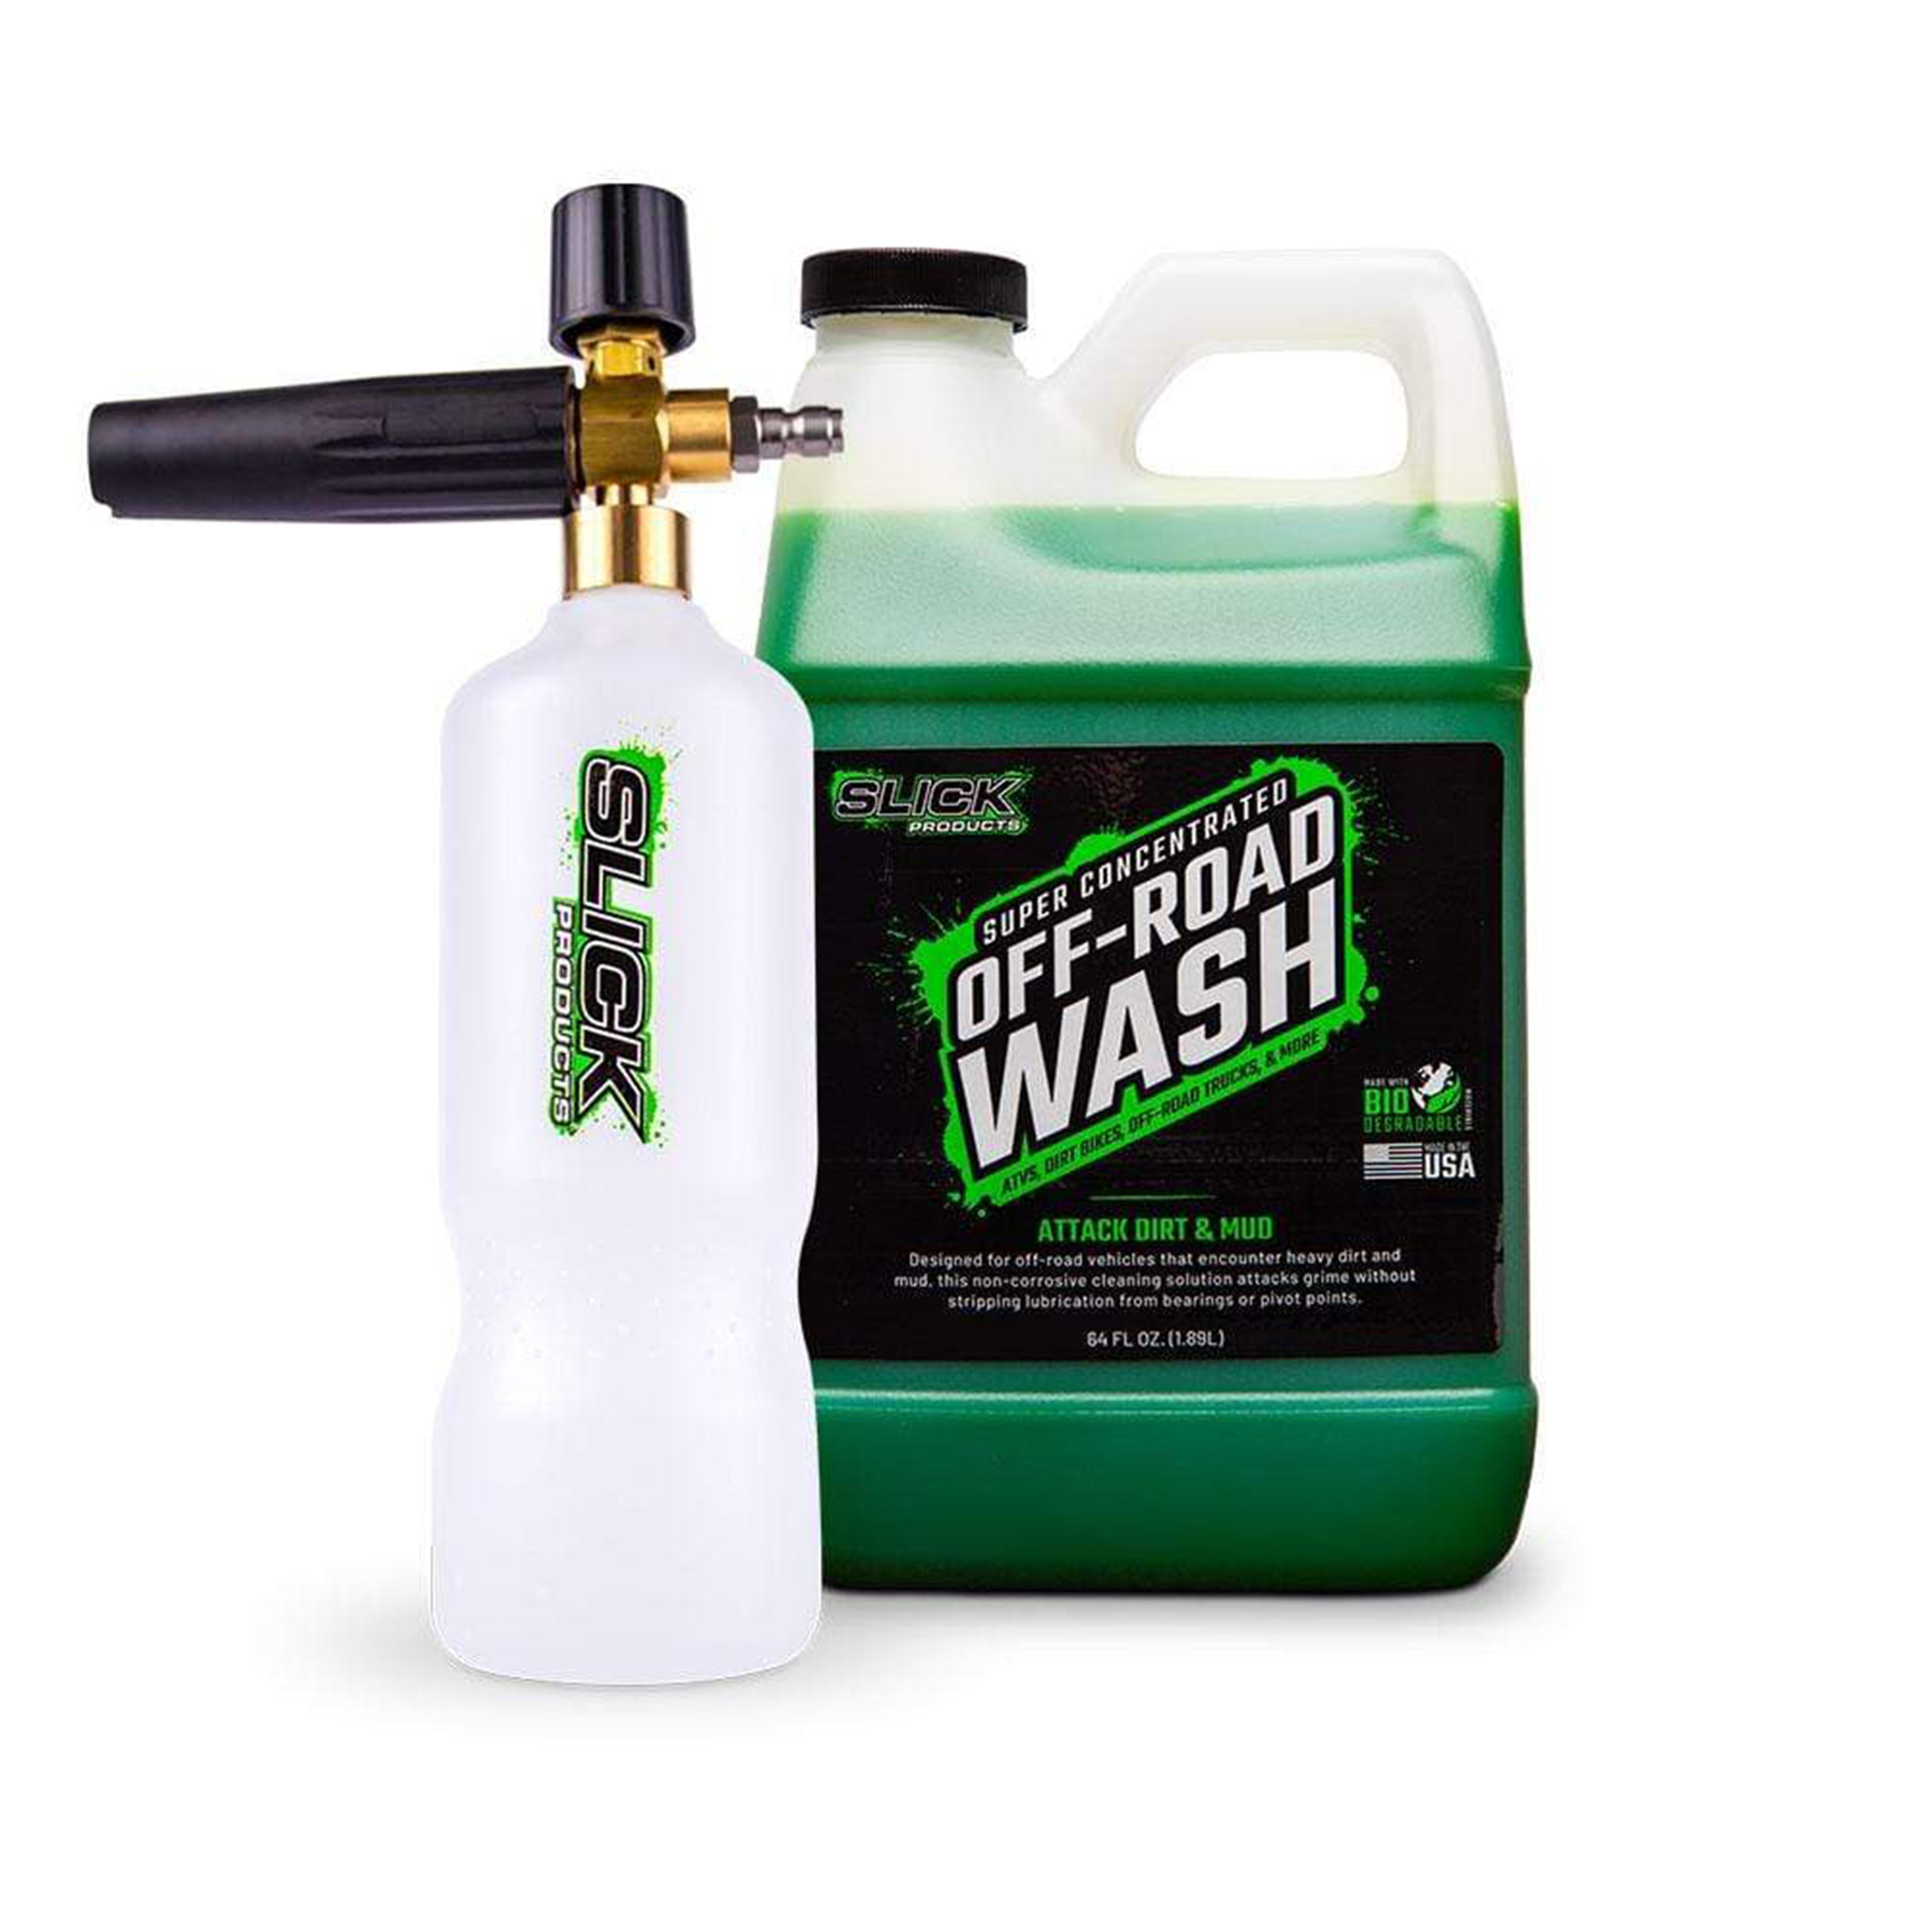
Step 1: Off-Road Wash Foam for Full Coverage
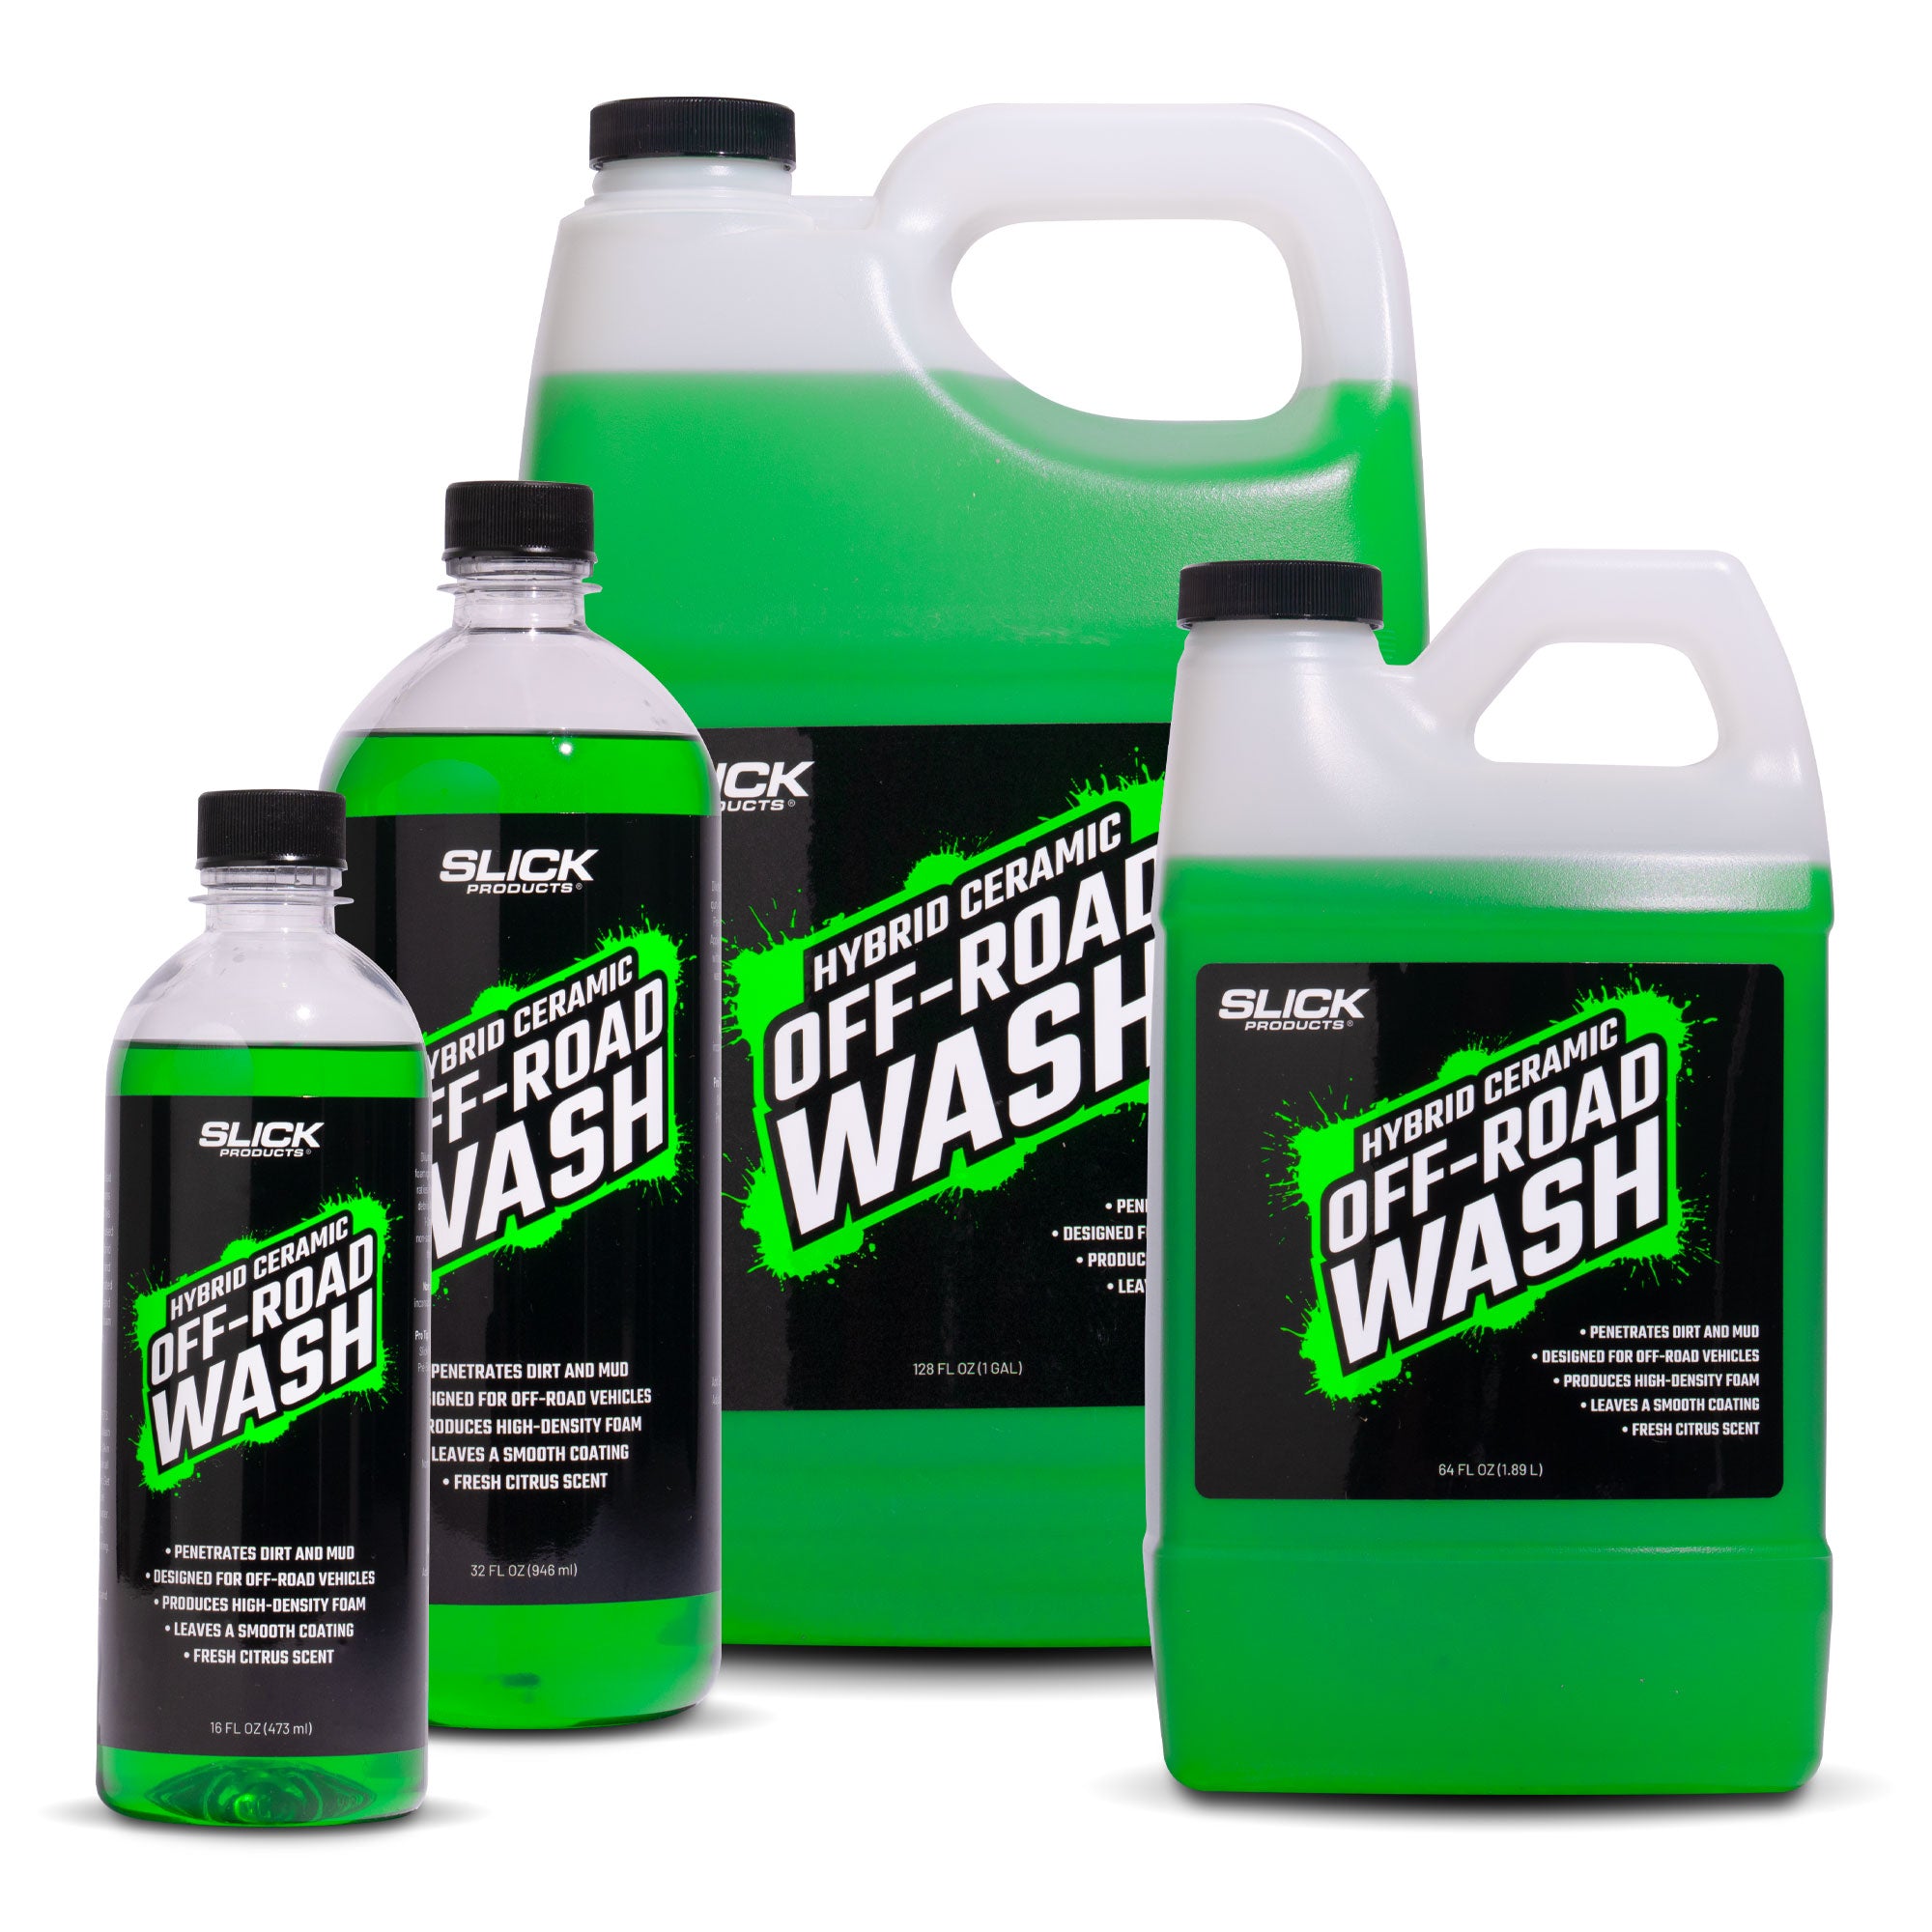
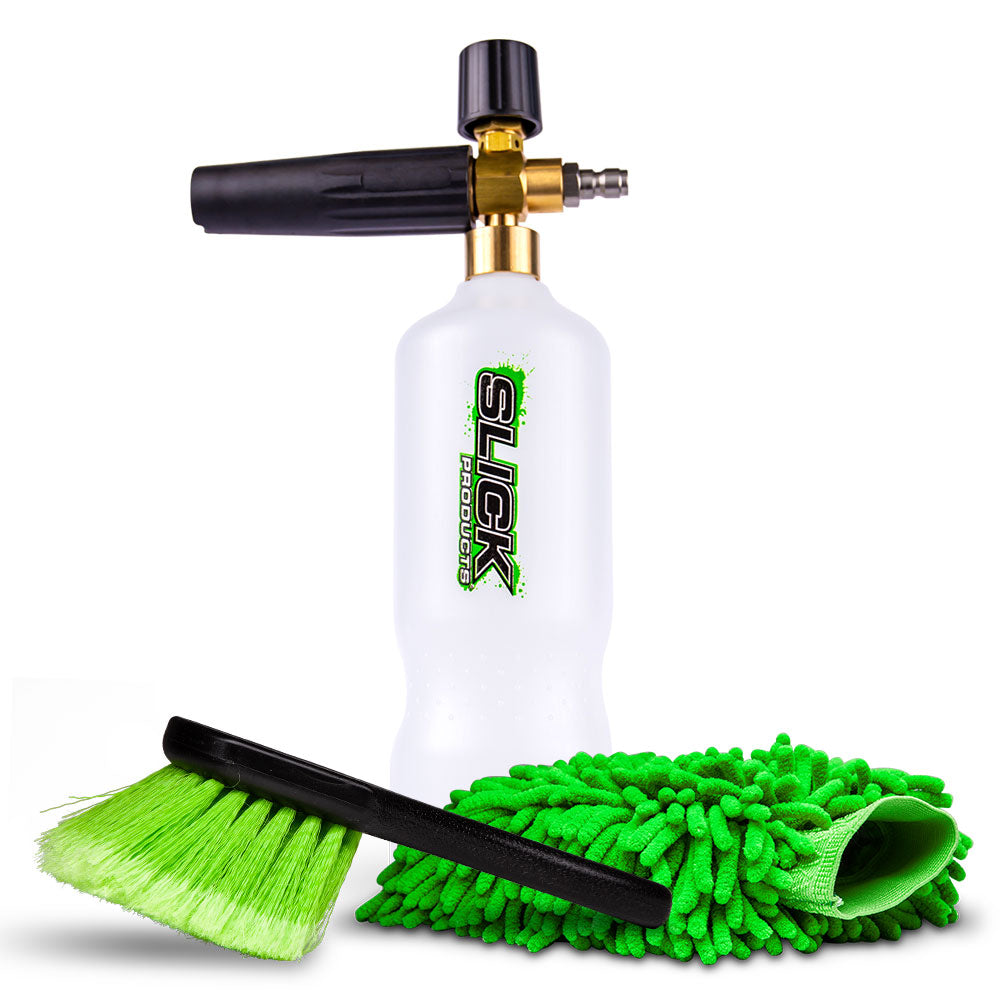
We start by coating the entire ATV with Slick Off-Road Wash Concentrate using a pressure washer foam cannon. The foam cannon connects easily to most pressure washers (¼-inch quick-connect adapter) and blankets the vehicle in thick, snow-like foam. Let it sit for a few minutes so it can penetrate and loosen the mud.
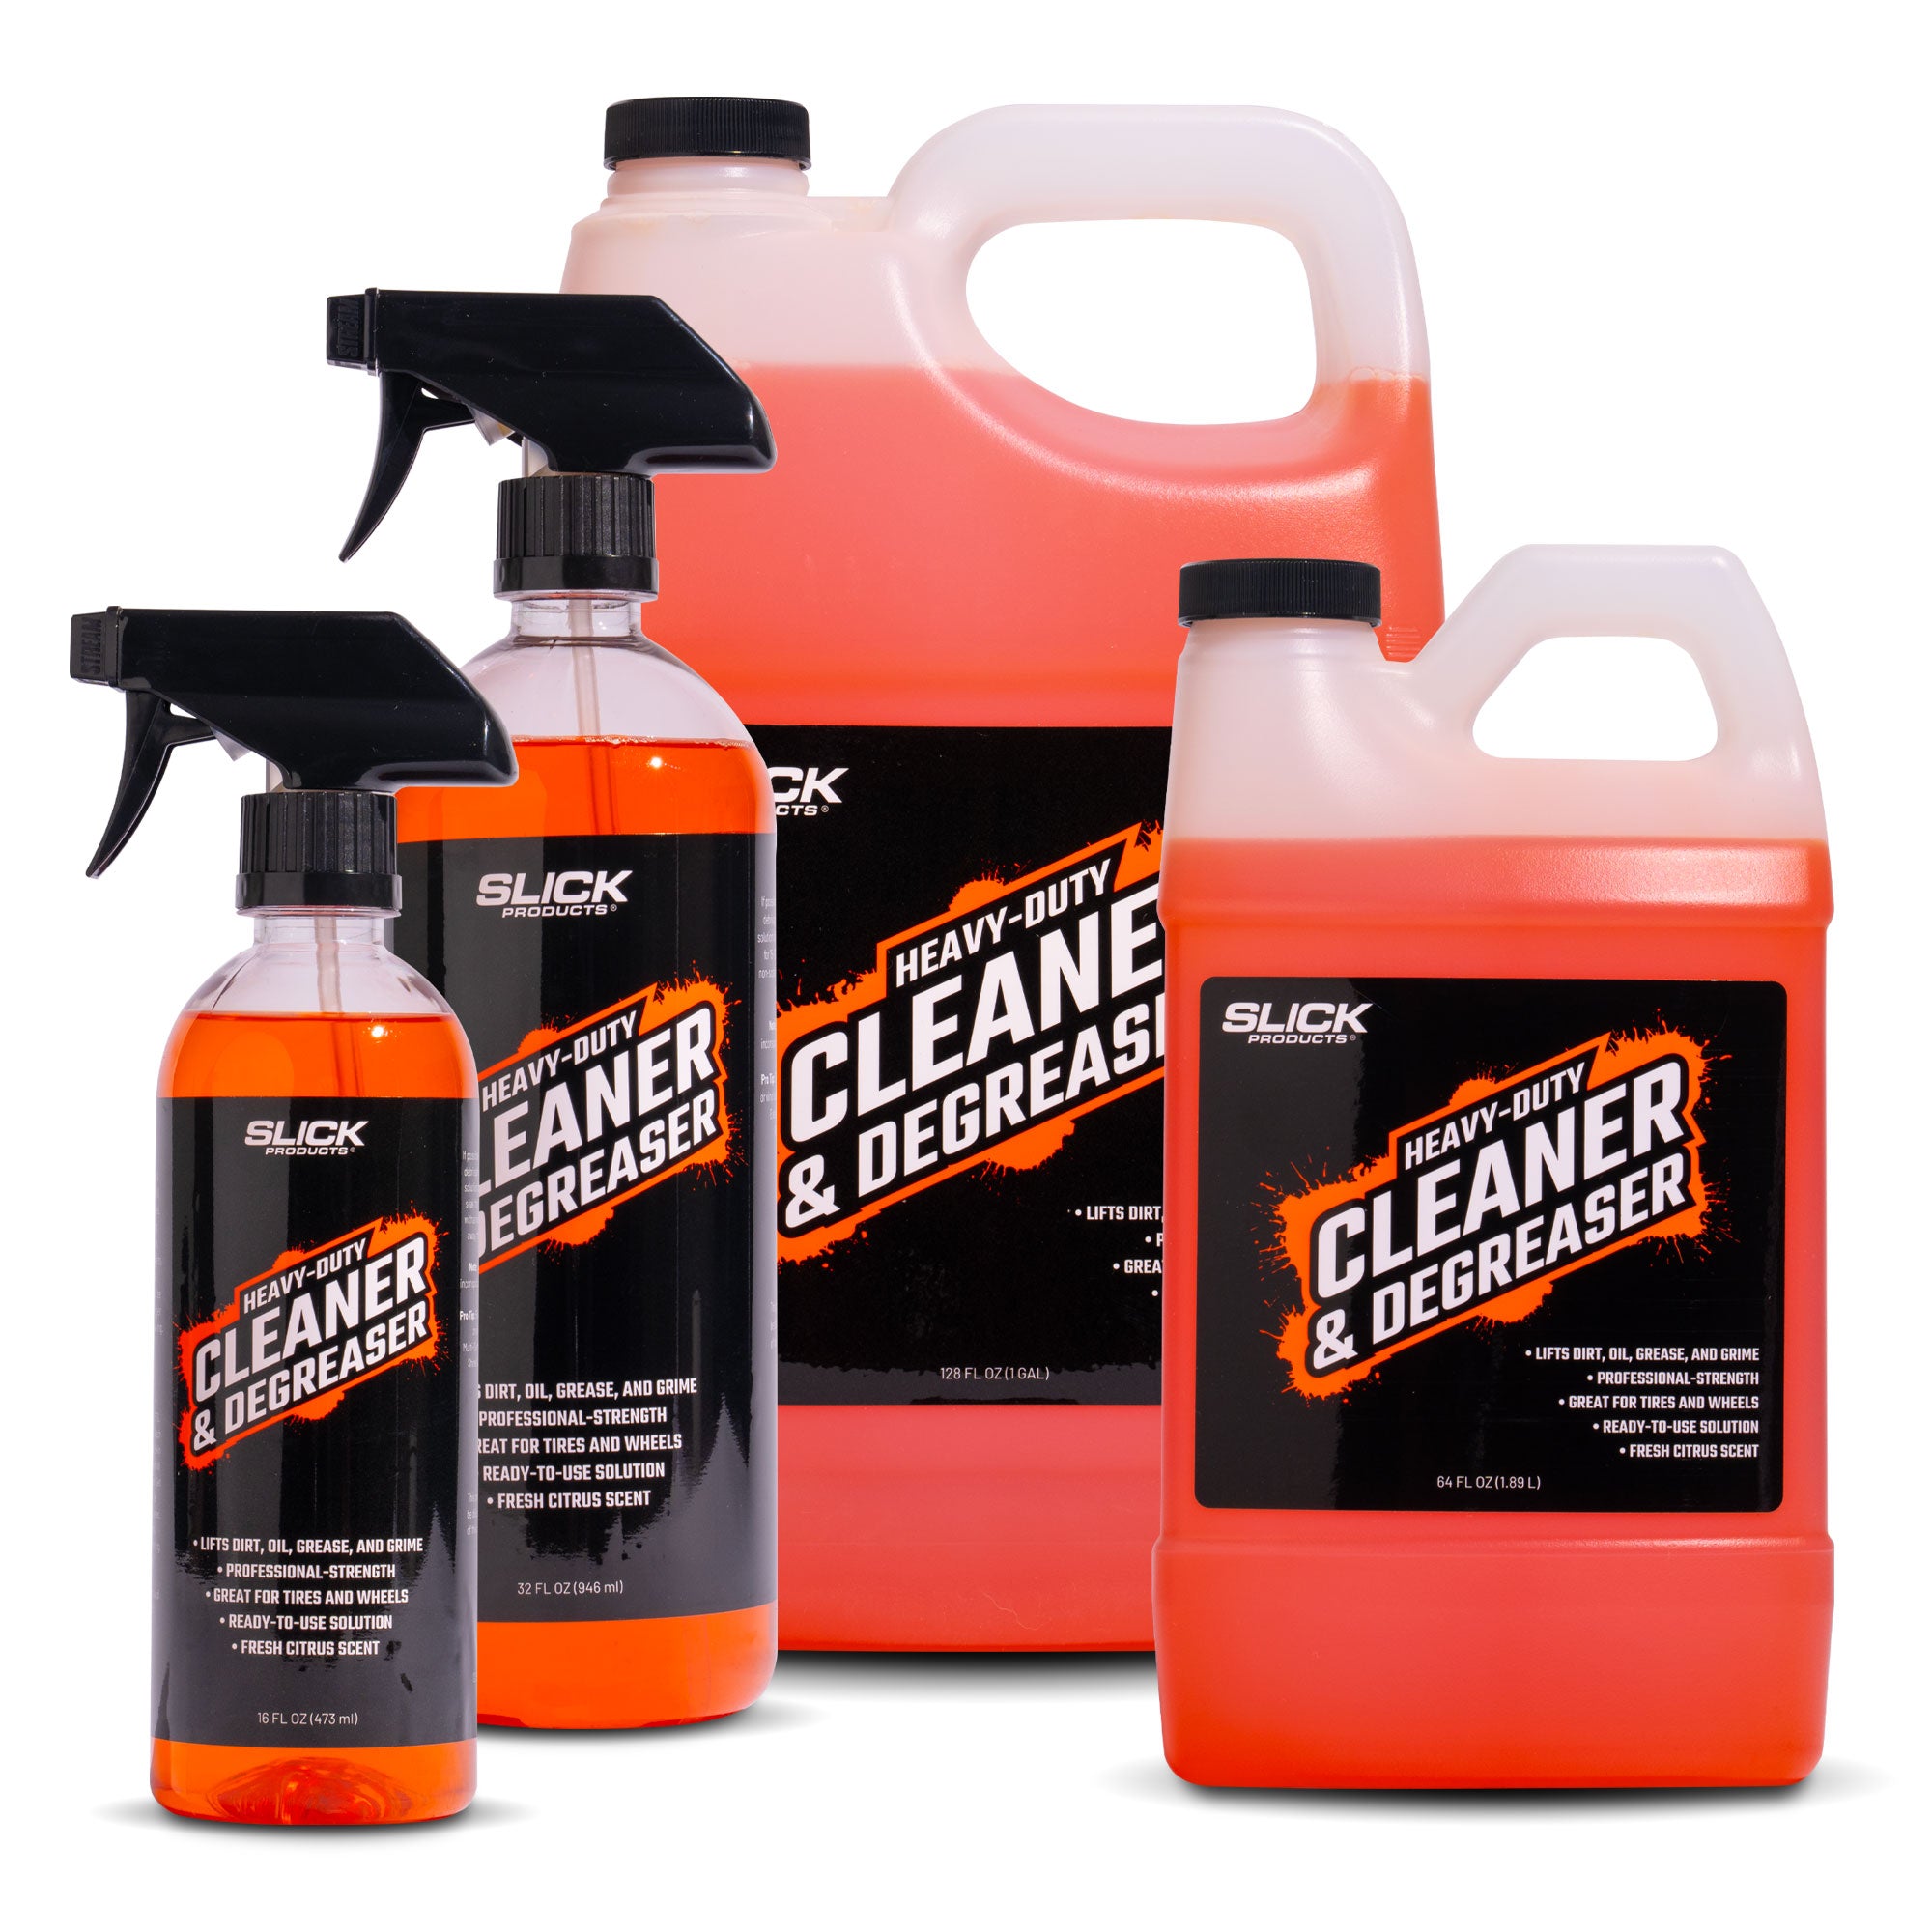
Step 2: Target Trouble Areas with Cleaner & Degreaser
Next, we spray Slick Cleaner & Degreaser on stubborn spots—areas with grease, oil, or caked-on grime. After letting it work for a few moments, we rinse it all down with the pressure washer for a deep clean.
Step 3: Shine & Protect
Once the ATV is clean and dry (we recommend using a microfiber towel), apply Slick Shine & Protectant Spray to all plastic and rubber surfaces. This gives your machine that glossy, like-new finish and helps guard against future buildup.
Ready to clean your own machine?
Grab the Off-Road Starter Bundle, Foam Cannon, and more at SlickProductsUSA.com
👉 Learn More
👉 Find it on Amazon
🇺🇸 Military and First Responder Discount
💪 Get Sponsored